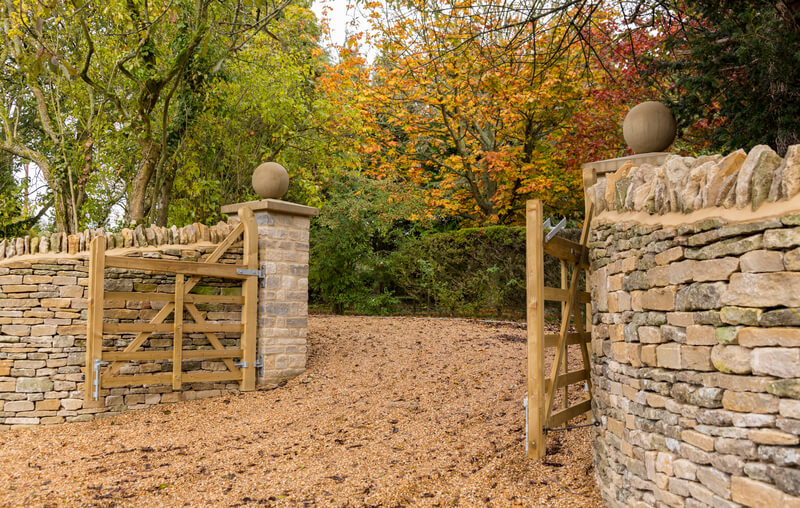
How to Hang a Wooden Gate
Hanging a wooden gate comes down to three main stages: securing the posts or wall from which the gates will hang, fitting the hinges, and then hanging the gate. We shall take you through each stage, piece by piece, so that you can best understand how we work and how your gates should be fitted.
Fitting the Gate Hinges
The first key stage of hanging your beautiful gate is firmly and effectively fitting the hinges to the braces of the gate. The first step of this is measuring how high (or low) you wish your gate to hang, and whether you wish to have a large clearance gap, or as minimum a clearance gap as possible. If you wish for the gate to extend as far to the ground as possible (while being high enough to obviously open and close without issue), it is recommended that you don’t go lower than 50mm. You can sometimes get away with as low as 25mm for a more snug fit, but never any lower otherwise you risk scuffing issues.To measure this, hold the gate alongside the post by packing it up with different sized wood blocks until you can see where it would sit – for a pair of gates do this for both sides, and offset it from the blocks to assess the clearance that you want. Clearances are usually 30mm total with a 10mm gap between the left post and left gate, right post and right gate, and 10mm in between the gates.

If you are on a slight slant, ensure you fit the higher side first and check the clearance from this point. If you don’t do this, you may find when it comes to doing the higher side, you don’t quite clear the ground!Ensure the gate is packed securely in place, and using a spirit level, check the level of the gate and check the gate stile is still plumb. If either is out of level/plumb, then re-check and align the padding and or wedges to correct as needed.Finally, slide up the hinges through the bottom hinge band up until it reaches the main part of the hinge band and then mark out the screw holes. Pre-drill these holes, then screw in a few screws – you only need to do a couple at this stage.Repeat for the top hinge, sliding it into place, marking out the screw holes, pre-drilling and then screwing in your initial few screws.
Fixing the Gate Posts Ready for Hanging
For the gate posts from which the gate will hang, there are a number of ways you can secure this in place. You can do this by attaching posts to an adjacent wall by screwing them into the wall using masonry screws, bolts, or by using frame fixings. Alternatively, you can fix the posts firmly in the ground using concrete.
Hanging Your Wooden Gate
Most of the hard work for the hanging lies in the hinge placements and levelling of the gate, so once these are accurate and you are happy with the placement of the hinges, ensure there are a couple of hinges in place so that you can test the gate.
Testing Your Wooden Gate
Remove the packing from underneath the gate and swing it fully both ways, ensuring that it doesn’t catch on anything such as unforeseen obstacles or rising ground. Once you’re satisfied, repeat on the other side, and you’re good to go.We hope you found this walk-through insightful and useful, and if you have any more questions about how we hang our wooden gates, you can get in touch via our contact page. For more information on the wooden gates we provide, please visit our gates page.
