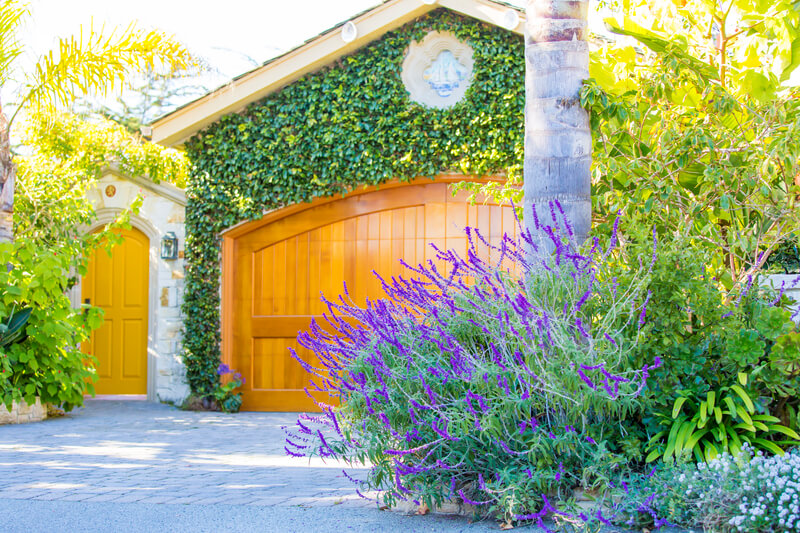
Top Tips to Restore a Wooden Garage Door
Wooden garage doors are the most popular options to create a beautifully traditional look for your home. However, the wooden garage door requires care to keep it looking in top condition, without regular maintenance, the garage door can look dull and faded. On this month’s blog post, we’re going to share some tips on how to restore your old timber garage door to its original beauty and to get it looking great again.
Signs for Refurbish the Wooden Garage Door
Extreme weather and old age can cause small cracks and holes in a wooden garage door. The wooden garage door, just like other fine pieces of furniture, needs some simple and regular maintenance to keep it looking nice. Below are some signs that your wooden garage doors need to be refurbished, either painted or stained to give it a fresh new look.
• Hairline cracks appear in the top layer of finish
• Change in the colour of the garage door, such as faded or uneven paints or dull looking
• The door finish is having some flaking or scaling texture
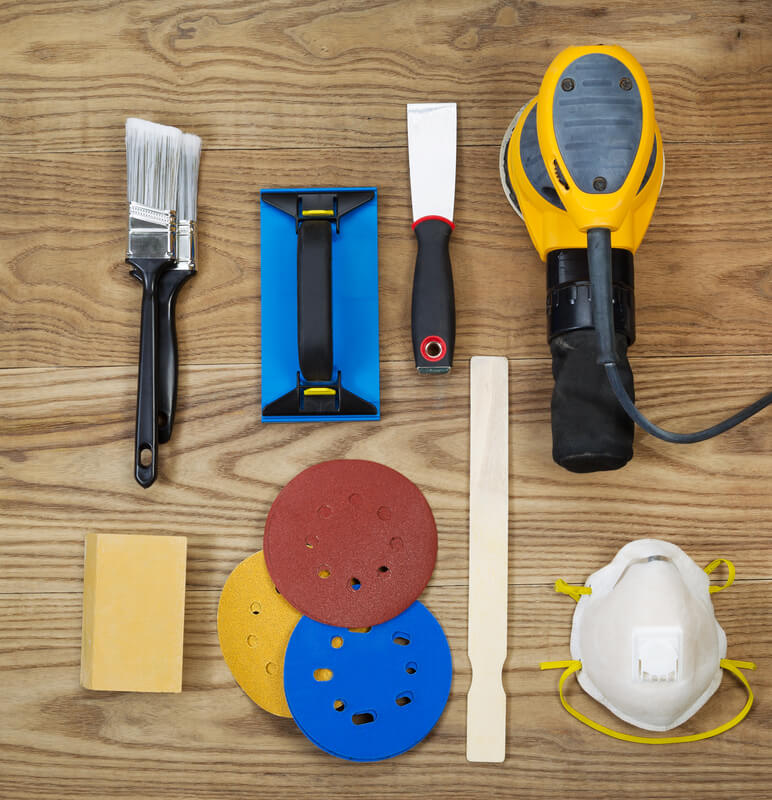
Gather the Tools Required
You will need some supplies before you begin the repair process, these including;
- Medium grit sandpaper
- Electric sander
- Sanding block
- Caulk and caulk gun
- Rotary tool
- Wood filler and knife (choose the right size for the repairs)
- Degreasing cleaner and mildewcide cleaner (for wood)
- Masking tapes and paper
- Paintbrush or paint sprayer
- Safety glasses and gloves
- Dust mask and respirator
- Primer
- Wood stain or paint
Prepare the Door for refinish
1. Sanding and Repairing
It’s best practice to prepare your wooden garage door before painting or staining. Start with the repairing process, remove flaking and peeling paint using a scraper, a belt sander or a liquid stripper, whichever is more suited for the task required. You may need to replace any damaged wood or repair any cracks.
Apply the exterior caulk to the seams and cracks with a caulking gun. Fill the holes and the areas where the rotted wood has been removed with a wood filler that can be sanded. Allow the filler to dry before moving on to the next step.
Sand the patched areas using an electric sander with a medium-grit sandpaper to save you time. Sand the whole area of the garage door if there were a lot of peeling paint. Hand sanders and palm sanders can be used after the initial sanding, this is to get into the areas that other tools can’t reach.
A fine electric sander is recommended for getting into the corners and in between panels. Once this process has been done, move on to spray the door with a degreasing cleaner and apply a mildewcide cleaner to remove the mildew if there is any, rinse it with water and let it dry completely before the next paint or stain application.
2. Timber Treatment
Some natural timbers like redwood or cedar contains natural acids called tannins that protect the tree from fire and the tannins can come to the surface when the door is being cleaned, this could cause the door to have a dark appearance that will spoil the look of the wooden door. You can use a wood brightening treatment to restore the wood’s real colour, but make sure to leave it dry for at least 24 hours.
3. Masking Tasks
Mask the area before the painting or staining, make sure the areas that you don’t want the paint to get to are covered with masking tape and paper.
How to Paint or Stain the Garage Door
- Now you can apply the stain or paint the garage door. First, wipe the door with a dry clean cloth that is lint-free, then start painting the door with your chosen stain or paint, go over the surface evenly, and make sure you don’t have too much stain or paint on your brush that will cause drips and brush marks. For oil-based stain you can use a roller or a sprayer for the painting, however, only one coat should be enough when using a sprayer.
- The stain should take less than half an hour to dry and penetrate the wood. After 30 mins, use a dry brush to clean off any excess stain that hasn’t soak into the timber. If you want to have a gloss finish on the door, you can apply a polyurethane coat over the stain one or two times depending on the product you are using. Bear in mind that the polyurethane layer will begin to peel off over time, so it will need stripping down again before the next refinishing.
Tips and Warnings
- Put cardboard underneath the door to avoid paint getting on the floor
- Wear safety glasses and gloves when you sand
- Do not use a sprayer on a windy day
- Wear a dust mask and respirator if you use a paint sprayer
- Know your health and safety procedures for each task
After the wooden garage door has been restored to a new look, make sure to undergo regular maintenance to keep it healthy and good looking. However, when a wooden garage door is too severely damaged, it may not be able to be restored to the condition that you wish. In this case, a replacement wooden garage door may be the best choice for you. If you need any assistance on wooden garage doors and gates, feel free to contact us on 01844 342036, our friendly team are always happy to help.