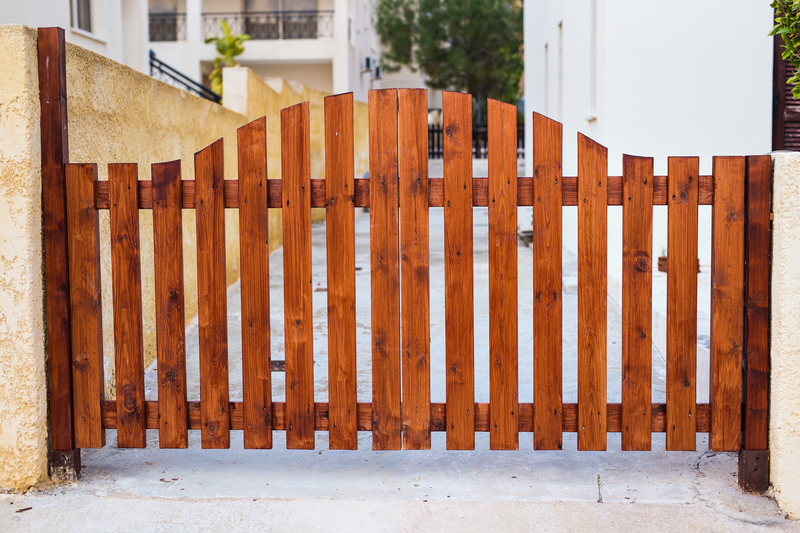
How to varnish your wooden gate
Varnishing any kind of woodworking piece helps in making it look beautiful. It also serves to protect the object from stains and scratches. The overall result is that your piece will be more durable than if it’s not varnished. Therefore, varnishing your wooden gate is definitely a job worth doing. Of similar importance is how the varnishing job is done. If it isn’t done in the proper way, it likely won’t achieve your desired result. Here’s a step-by-step guide for how to varnish a wooden gate.
Step 1: Assemble the required tools and materials
The materials and tools to assemble for this project include varnish, rubber gloves, natural bristle paintbrush, stirring stick, paint mixing and measuring cup, paint thinner and a respirator. You’ll also need sanders with different sheets. For removing the gate locks and the hinges, you’ll require a screwdriver.
Step 2: Remove the locks, hinges and other such materials
Your wooden gate is most likely equipped with some metallic parts such as the locks and hinges that help with the operation of the gate. These won’t be part of the varnishing task as only wooden parts of the gate should be varnished. You can take the hinges and the locks off the gate before you begin. Ensure that you know how to return them once you’re done. To avoid any mistakes when you’ll be fixing these parts back on, it’s advisable that you take a picture of how they were fixed before you begin.
Step 3: Sand the wooden parts of the gate
Using sanders of different grit sheets, you should ensure that you sand the wooden surfaces of the gate that you want to varnish. Make sure that by the time you’re done sanding, the surface is smooth and clean. The workspace and surface should be properly cleaned before the actual varnishing is started. Cleaning away any dust or dirt particles is important because the varnished surface is likely to attract these particles and dry with them stuck in. So the quality of your varnishing task depends on how well you sand and clean the surface before you start varnishing.
Step 4: Get the varnish and brush
Don’t ever use a varnish that isn’t newly bought. If you go for one that has been lying in the workshop for years it’s likely to contain lumps. This could really compromise the quality of your varnishing. To test the quality of the varnish, you can coat it on the surface of scrap wood. The paintbrush used is equally important, a natural bristle brush is the best choice.
Step 5: Prepare the varnish
Once you have the right varnish, start by using a clean stick for stirring it. Be thorough and stir it in a slow manner to make sure that bubbles of air don’t form. In fact, during transport, try as much as possible to avoid excessive shaking of the varnish can. With care, pour enough varnish into a plastic container for the coat. The container should have measurements on the side to know exactly how much varnish has been used.
Step 6: Addition of a thinning agent
Add a thinning agent such as gum turpentine into the varnish that you’ve poured out. The thinner counteracts imperfections like bubbles and streaks on the surface.
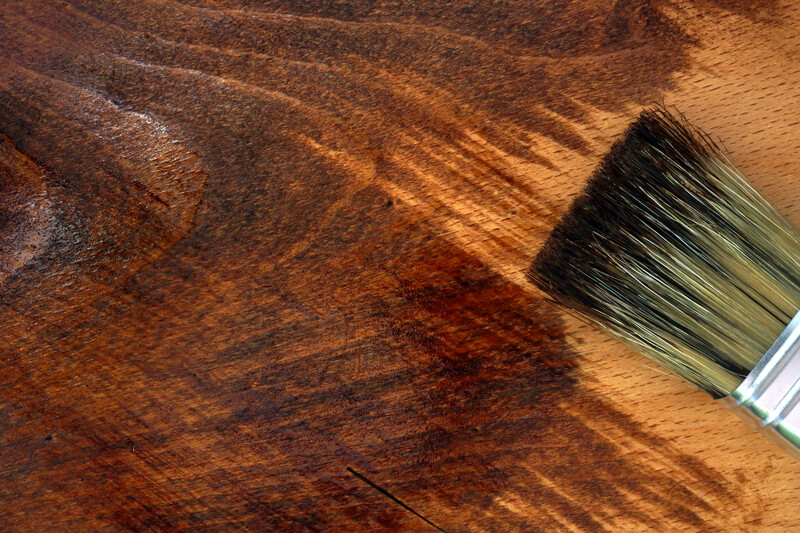
Step 7: Apply the varnish coat
When coating on the varnish, be sure to use a light touch and use a sparing amount of varnish on your brush with each stroke to avoid dripping and streaking.
Step 8: Fix the locks and hinges back
Once you’ve allowed enough time for your varnish to dry on your wooden gate, you can fix back the gate lock and hinges as well as any other metallic parts you removed when starting. Follow the above step-by-step guide to transform the look, quality and durability of your outdoor wooden gate, and if you have any questions feel free to let us know.